Showing posts with label upcycle. Show all posts

Wednesday, 6 March 2013

Rock n' Roll Fever - Spring Fever Remix

Good morning Starshine, the Earth says hello.

Quoting bad movies...it's a bit of a hobby.

So Project Run and Play is having a quiet period of inbetweeness as they're gearing up for the all stars season which means yay for us because it's pattern remix time! I was completely stumped looking at this pattern as my baby is not so much a girl and I was having a hell of a time trying to figure out how to make this pattern look in anyway masculine and still make use of the great details:


That being said I had already fallen in love with that bib detail and there was no way I was letting it slip past me. And so I thought and thought and thought and I'm not sure what inspired me. I am really into fashion as art and costume design and in my own wardrobe I like to take risks and include a lot of pieces that most people wouldn't consider wearable like lime green and silver zebra-striped pants or hats made entirely of sequins.
 
Up until now I've been pretty safe with Wildeman's wardrobe. I have to stop that business or I'm at risk of stagnating. Once I had the conventions of baby clothing and boy clothing out of my head the creative block fell away and I had it! And that is why I love prompts especially ones that seem tailor made to trip me up.
 
Introducing Wildeman in
 

Rock n' Roll Fever


I down-sized the bodice considerably to fit my 4 month-old, added sleeves, and elongated it to become a romper. I interpreted the bib back as epaulettes, which are by far my favourite aspect of the outfit, Then I added an accent zipper in purple.


Friday, 8 February 2013

Baby Trench - PR+P Men's Shirt Refashion

Hello everyone!

I'm so sorry that took so long, I didn't end up getting a new charger until this afternoon but I am finally back and with a lovely tutorial (if I do say so myself). I was having the hardest time thinking of something unique to for this week's Project Run and Play sew along. Men's shirt refashion is a pretty well-loved theme for refashioners the world over and though it is a very versatile piece it seemed that I had seen everything.

To make matters slightly more challeneing my only little model is a baby boy, adorable though he is, I'm not sure of he could rock a girlier (therefore easier) men's shirt refashion. Thankfully hubby came to the rescue with a brilliant idea: a baby trench. A classic for a reason. So, a little internet hopping and I discovered this adorable Burberry trench for 4 years old and upward for 350$:


Yes, that's right: 350$ for a children's coat. Seems a little unnecesary to me. Especially when this little peice of adorableness cost

2.50$
 
 
Want to see that again?


Monday, 28 January 2013

Skull Stitch Markers and Crochet-Fixing

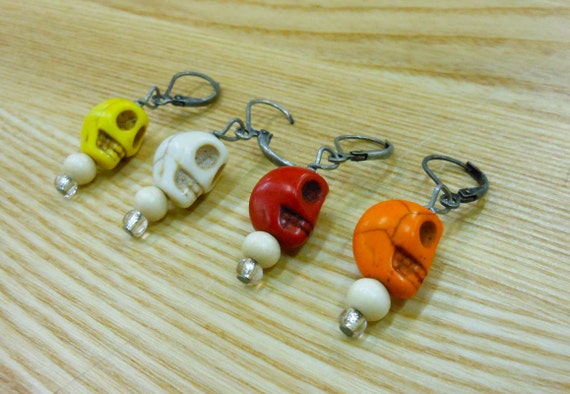
Removable crochet stitch markers -- skulls

I just had to share my new crochet stitch markers with everyone. I bought them on Etsy from Hooray Crochet and am absolutely in love with them! I had been in need of stitch markers for a long time (I had been using paper clips) but I really didn't want to buy markers that I didn't love! I'm one of those people who likes everything little thing to be cool. If I don't love something, if it doesn't make me smile, there is not a heck of a lot of reason to own it. Speaking of which I'm on the look out for a cool teapot if anyone has any ideas...

Also!

Hubby and I have been together since we were teenagers and once, while at the mall, 16-year-old hubby with cash to burn bought this big fluffy red circle pillow for no apparent reason.

 
Now, I try not to be the wife who tells her husband what he can and cannot own, and he was oddly attatched to this pillow. But, I also spend a lot more time in our house than he does since I work at home and this thing was an eye sore in the eclectic brown and blue tones of our bedroom. So...I hooked the crap out of it and made it pretty.


I didn't use a pattern for this but if your even a little familiar with your crochet hook this is an easy project to pull off, and honestly if you don't even own one yet you could watch a couple youtube videos on how to cast on and do the puff stitch and you'd be golden. I just used leftover yarn from my stash and a matching hook. If you have the pillow you're covering on hand you can just keep checking to make sure that you're on thr right track. 
 
It's simply a round of single crochet, then half double, then single again to create that textured look on the top. Then I alternated puff stitch and single crochet around the sides for what I hope is a Morroccan feel. I used a hook that was a little small for the yarn so that my stitch was really tight as I didn't want the red to show through, but you could also line the case when you're done. I overlaped the top and bottom layers so that the pillow can be pulled out to wash the cover and there are no buttons are zippers to unepectedly poke at you when you're trying to nap.
 
This would be a very rewarding and only somewhat challening project for a beginner. I hope it inspires someone to de-ugly something their partner won't get rid of!
 
May the craft be with you!

Thursday, 7 June 2012

Men's XL to Women's Maternity

Hello!

I told you I would get a tutorial up here sometime soon and I meant it! I guess I'm over the first trimester fatige (at 4 freakin' months!). I whipped this little beauty up yesterday afternoon and now it's my favourite maternity shirt!!! Read on for the tutorial:

After

Before

Saturday, 5 May 2012

Half and Half T-shirt

Hello Lovely Crafters!

So, I haven't been crafting as much as I would like lately. Or rather, the projects I'm working on are more long term. You will see them eventually but I can still only work in relativey small spurts. But whatever, at least I'm working :D

When I woke up this morning I was feeling a little grustrated by how long it had been since I had actually completely something. So, I decided to start a 5 minutes project. This is something I had been meaning to do for a long time but had been putting off because it was such a tiny project (how's that for self-sabotage?)

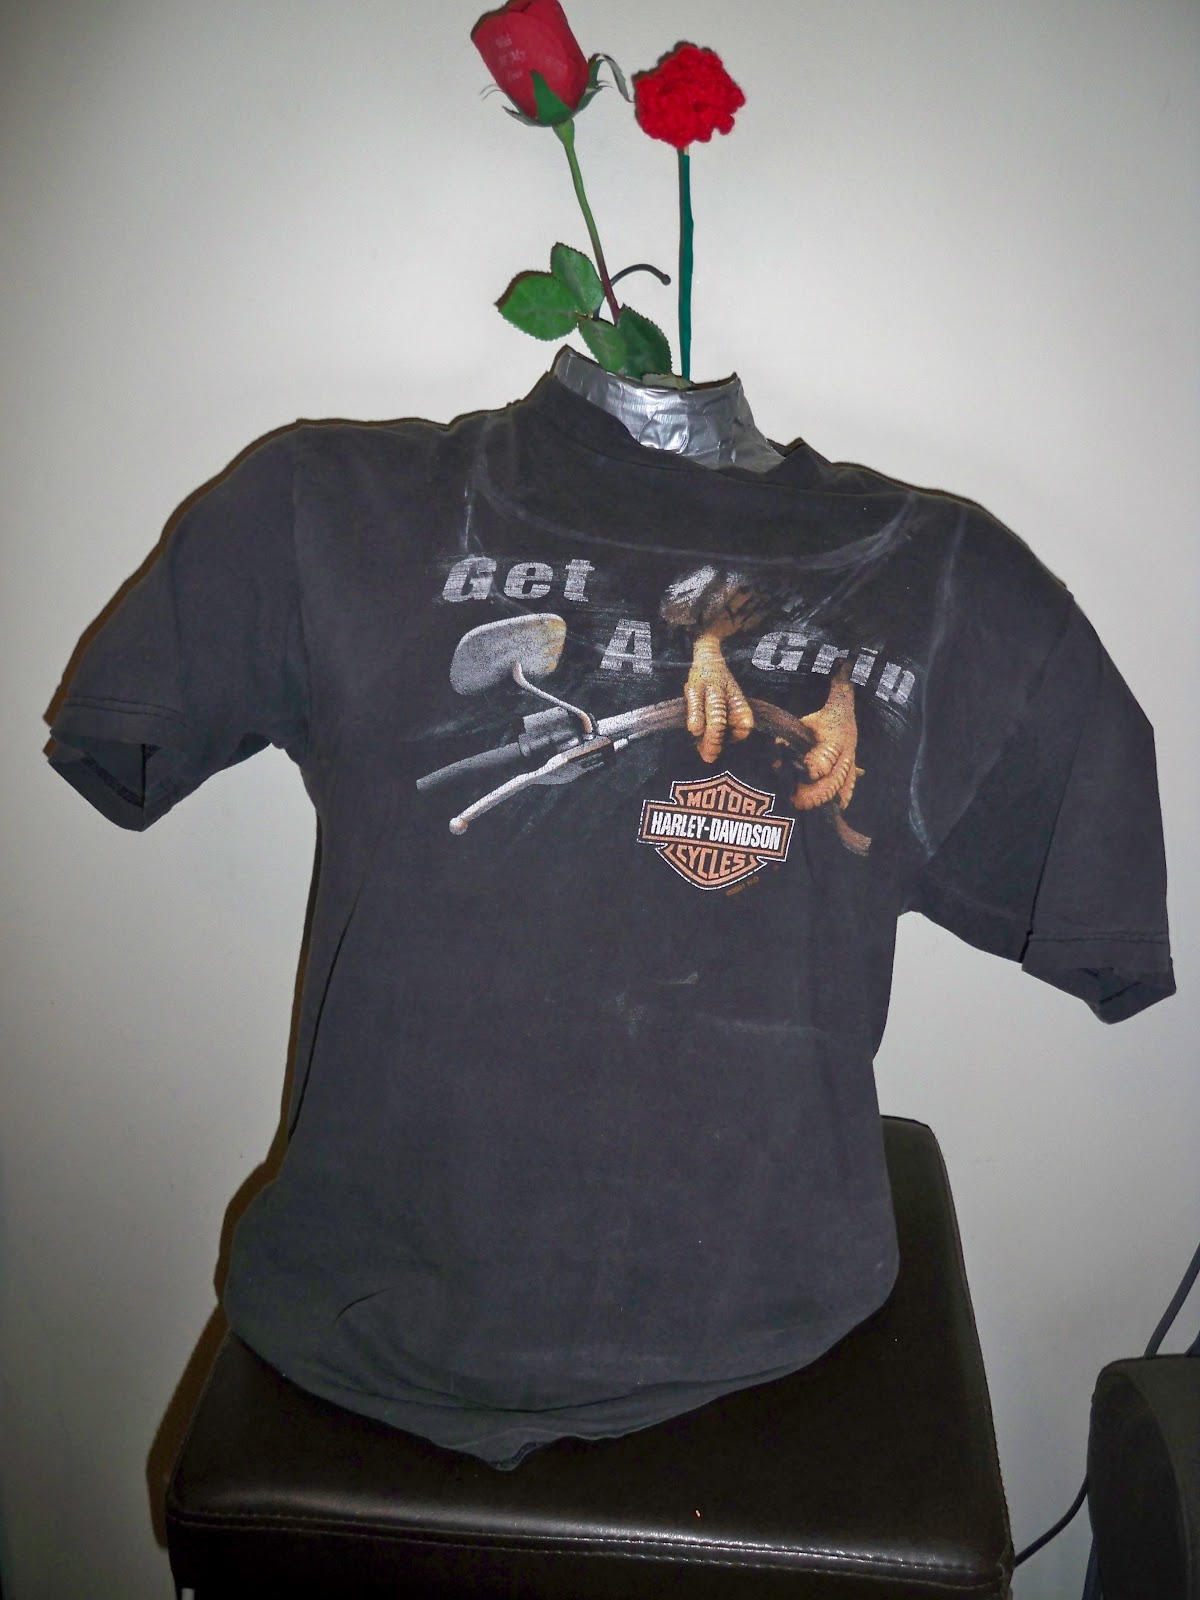
Anyway, it all started with this super cool shirt I have had since I was a kid and haven't been able to let go of. Takes me back to teenage motorcycle roadtrips!


While nostalgic it was certainly not stylish but it's all good. I have scissors!

I have been wanting to try this tshirt reconstruction I had found on Pinterest forever and had never gotten to it. This is my inspiration from www.oaknyc.com :


Easiest way to make a new pattern is to CHEAT CHEAT CHEAT and copy something else you own that looks about right.


Okay, here is a good chance to learn from my (perpetual) mistakes. Don't trace on the right (out) side of your shirt with the chalk. You want to turn the shirt inside out and trace on the other size...I'm such a space cadet...


I brought the collar up so the logo wasn't cut out.

Back too (ps you'll want the back collar as well)...
Pop it on the form (floor works too if you're formless)
Snip. Snip.
Snippity snip.

 And the finished product. After about 3 minutes of very hard work. Voila:

The Half and Half T-shirt


Pretty freakin' awesome I think :)
See you soon!

Sunday, 1 April 2012

RAWR! is dinosaur for I love you

Hello lovely crafters!

This wicked cool dinosaur shirt was one of my first ever major refashions and still one of my favourite. Unfortunately the majority of the "during" pictures were lost in my old computer. So, I have a few from the beginning and a few from the end. I'm going to have to describe the middle part.

First thing I did:

Originally I had planned to do this with a dyed t-shirt and a giant hunk of felt. Unfortunately I don't really have the energy still to correctly dye things. I attempted it though, and thus, the unfortunate result:


Not the dye's fault.


Not sure if you can see it but there's red and black spots in there that confuse the heck out of me.

So I pitched that idea and moved on (the shirt is going to become the base for my next form waste not!) Why make more work for myself right? I found a men's grey polo at Value Village that was a much thicker material. I realised something heavier will hold the weight of the felt much better.]

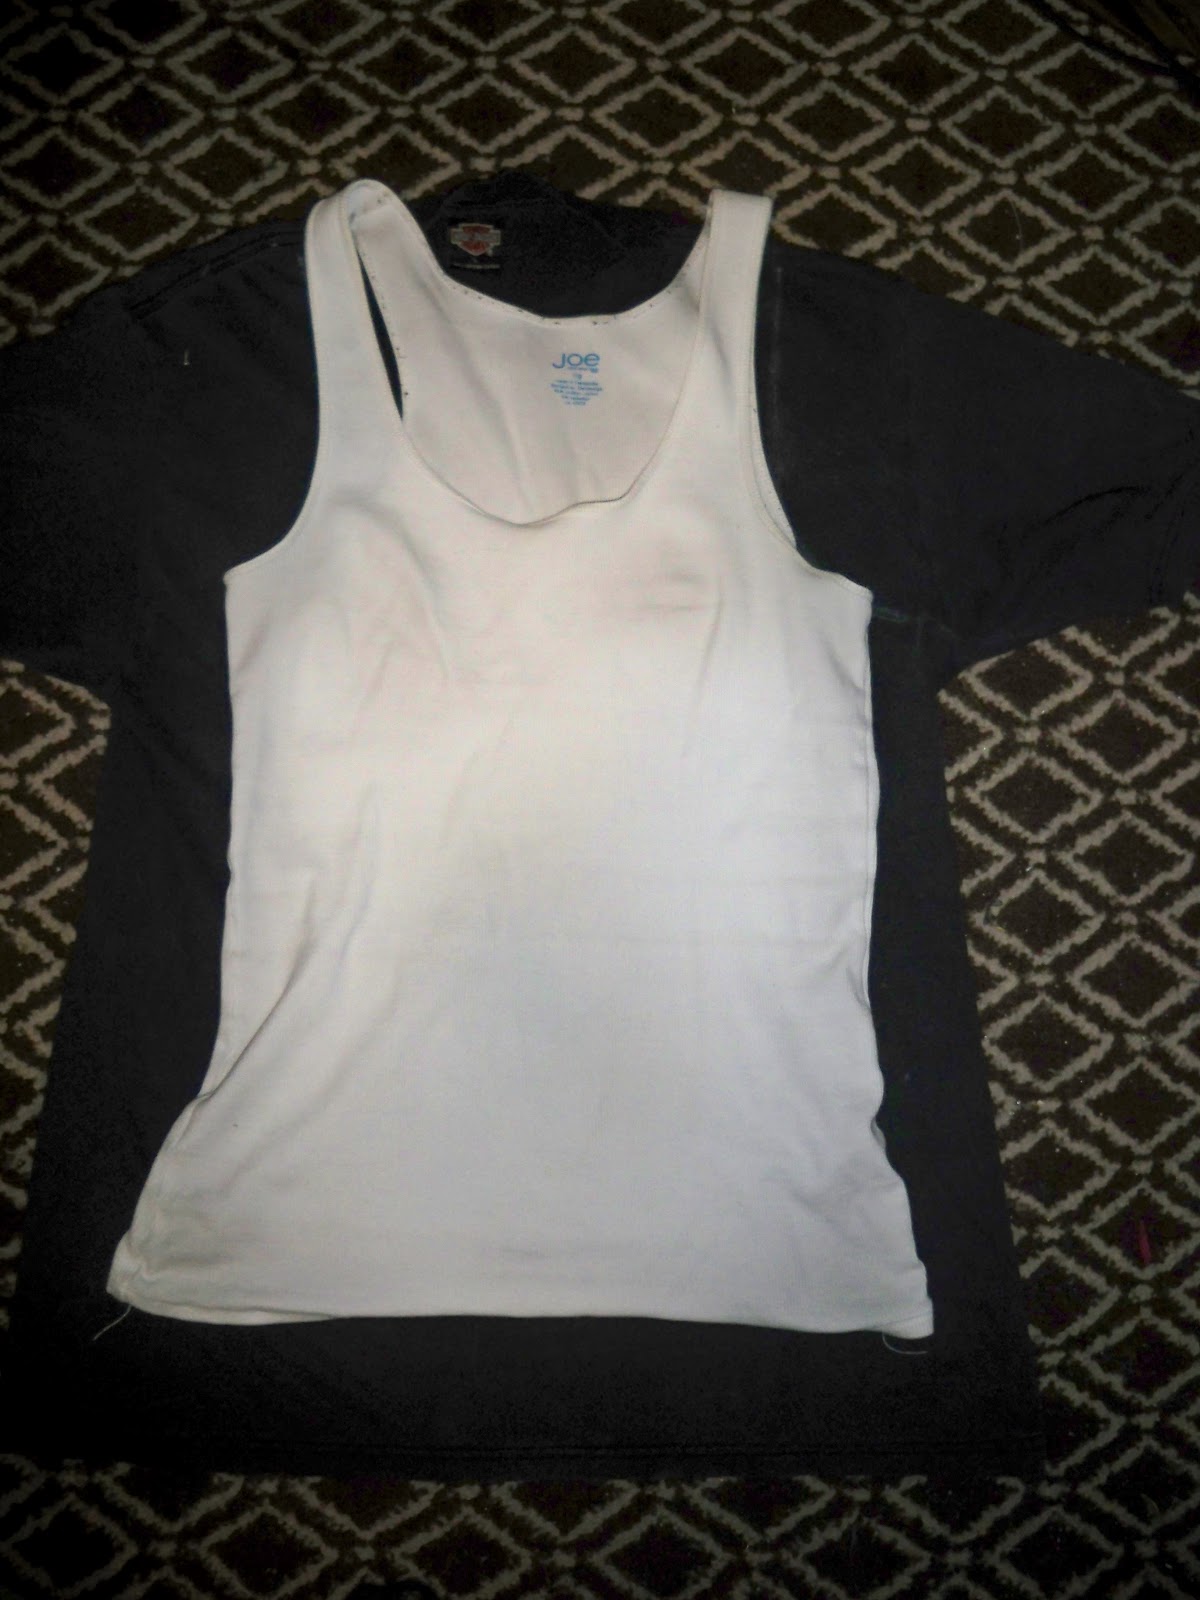
The shirt, being a polo, had a really low collar that I had to get rid of so I ended up having to cut it really low. It definitely needs to be warn with a shirt underneath, otherwise it doesn't keep the ladies under control. To make the racerback I just layed my favourite raceback tank top (from Joe Fresh) over top and cut out the same shapes. I did have to do some alterations as the fabric was making the cut hang all weird but it all worked out in the end.

I bought a big chunk of black felt at Michaels for around 7$. Here is the part that I really wish I had those pictures for. The dinosaur! I found an outline of a t-rex that I really like online. Then I just held a piece of paper up to the screen and traced it lightly. I wanted to make it huge without going anywhere, I like my house :) and my artistic talent does not stretch so far as drawing. So, I drew a grid over the little dinosaur, then increased the scale of the grid until it was shirt sized and copied what was in the little boxes and...bam! I had a shirt-sized dinosaur (onomatopoeias make everything better).

I cut out the super huge dinosaur and had a pattern piece. I pinned it to the felt and cut out my giant dinosaur for the shirt. Sew one to the other and...pow! (seriously, its fun, you should try it) I had a super cool dinosaur shirt.

A word of caution however: If I ever make a similar shirt (I'm considering a robot) I'm not planning to do it with felt. It's finnicky to wash and seems to collect my white cat's hair intentionally.

The rawring shirt:


The pretty kitty:


Make. Make. Make.

Tuesday, 20 March 2012

Make Your Own Journal

Hello everyone, thank you so much for checking out my new blog. My intention with this blog is to share my own little sparks of cretivity, or the things I have learned from other talented DIYers online, obviously with my own touches added.

My main interests, as far as DIY goes are refashioning, upcycling and book making. I also harbour a fascination for corsetry and waist training but as a result of extenuating circumstances it may be a few years before I get to make my own corset and start cinching.

This blog will be full of tutorials with pictures and occasionally videos so that you, too, can get crafty and creative. If you create something based on a tutorial you find here I would love to see your creation and see all the personal touches you added to it.

Although many of these designs will be original I hold no copyrights. Most of my work is inspired by others. I'm not here to make money but to celebrate everyone's individual creativity and style.

For my first tutorial I will direct you to an article I wrote for a website called Hubpages. My name is different over there, I use my pen name (I'm a proffessional writer) which is A. R. Colton, so don't be confused. The pictures you see there are of my own work. I hope you enjoy it!

Project #1: Upcycled Journal

Make Your Own Journal on Hubpages

The tutorial has step by step instructions with pictures on how to bind and decorate your upcycled journal.