Saturday, 5 May 2012

Half and Half T-shirt

Hello Lovely Crafters!

So, I haven't been crafting as much as I would like lately. Or rather, the projects I'm working on are more long term. You will see them eventually but I can still only work in relativey small spurts. But whatever, at least I'm working :D

When I woke up this morning I was feeling a little grustrated by how long it had been since I had actually completely something. So, I decided to start a 5 minutes project. This is something I had been meaning to do for a long time but had been putting off because it was such a tiny project (how's that for self-sabotage?)

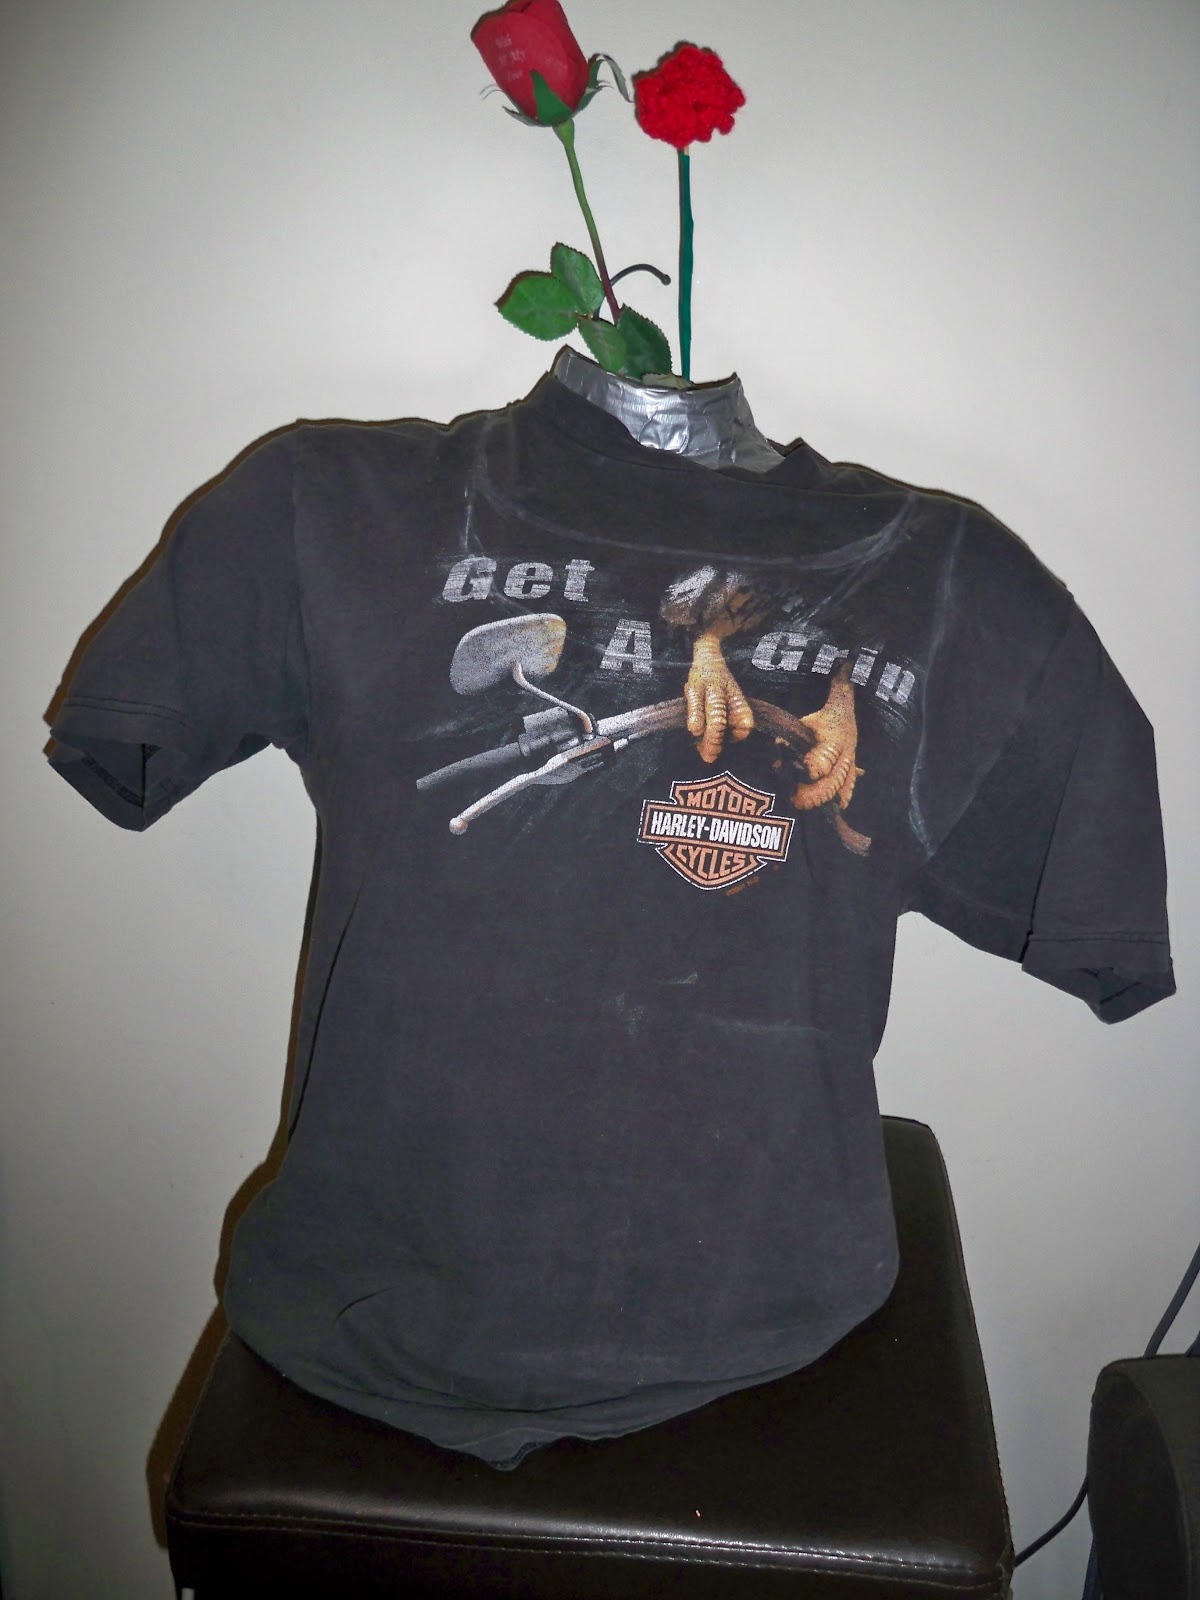
Anyway, it all started with this super cool shirt I have had since I was a kid and haven't been able to let go of. Takes me back to teenage motorcycle roadtrips!


While nostalgic it was certainly not stylish but it's all good. I have scissors!

I have been wanting to try this tshirt reconstruction I had found on Pinterest forever and had never gotten to it. This is my inspiration from www.oaknyc.com :


Easiest way to make a new pattern is to CHEAT CHEAT CHEAT and copy something else you own that looks about right.
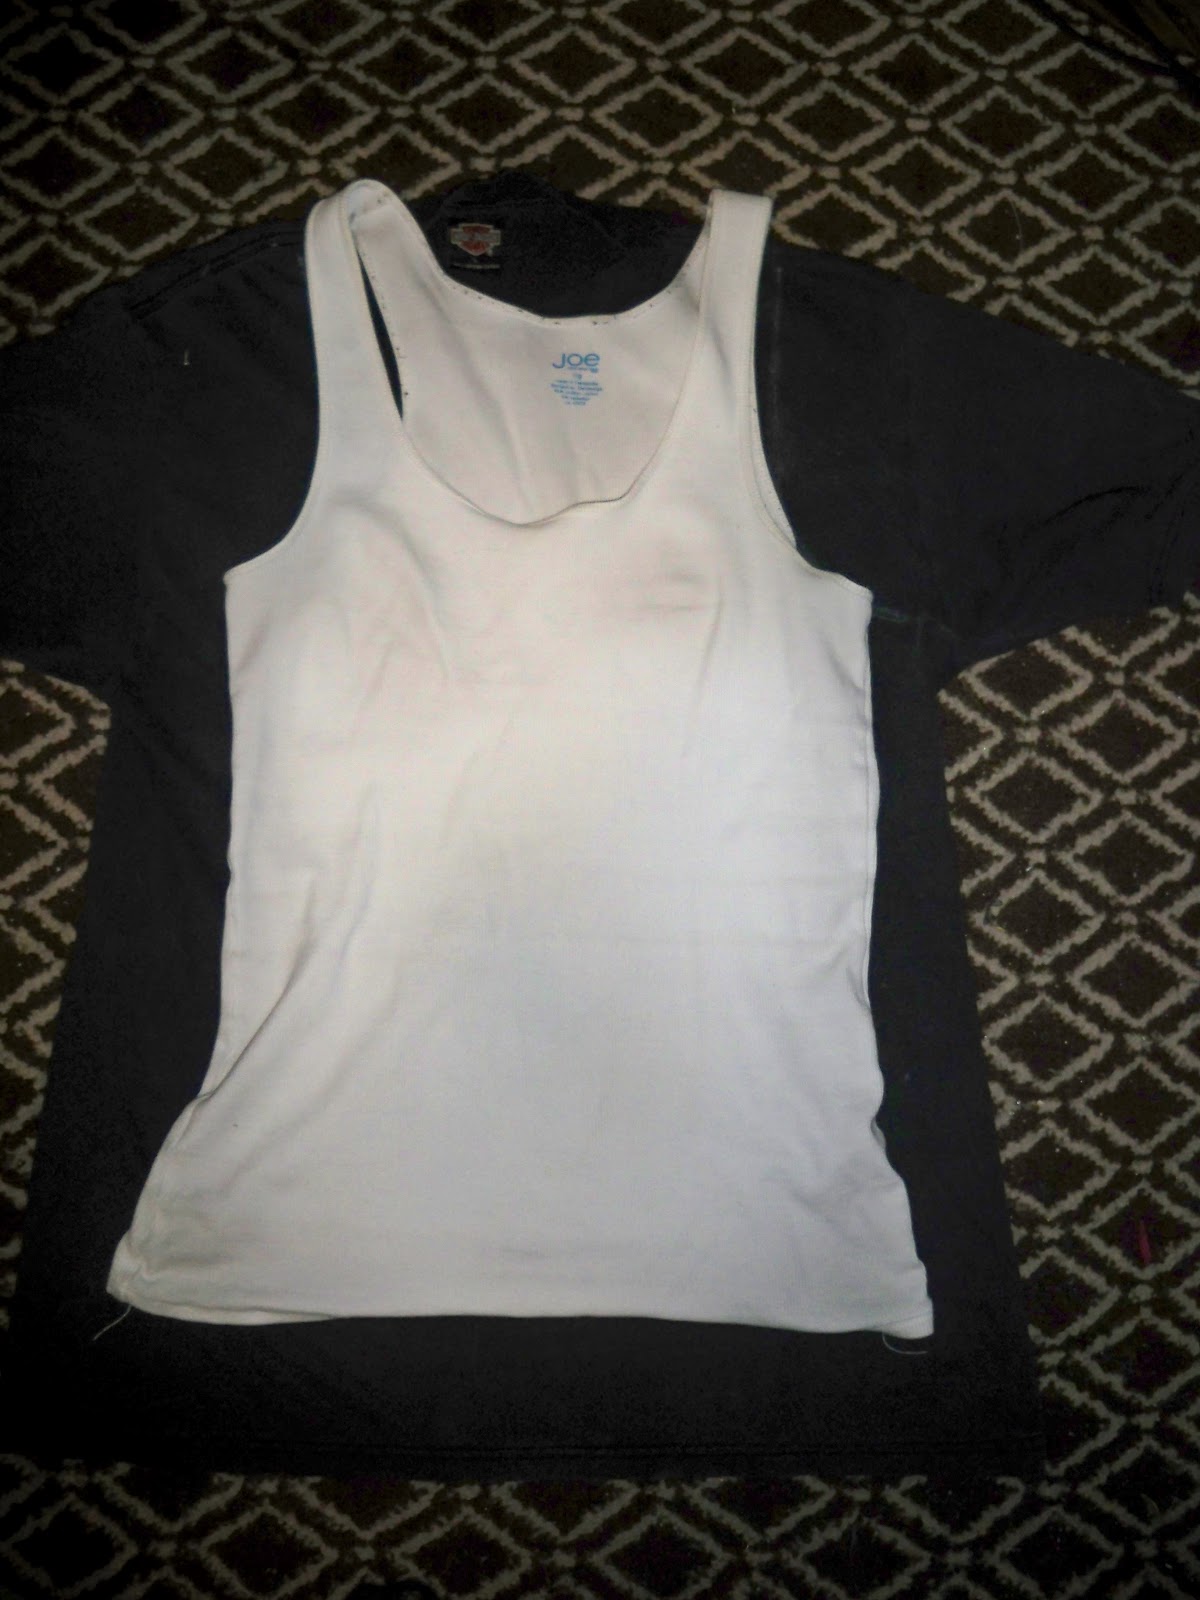

Okay, here is a good chance to learn from my (perpetual) mistakes. Don't trace on the right (out) side of your shirt with the chalk. You want to turn the shirt inside out and trace on the other size...I'm such a space cadet...


I brought the collar up so the logo wasn't cut out.

Back too (ps you'll want the back collar as well)...
Pop it on the form (floor works too if you're formless)
Snip. Snip.
Snippity snip.

 And the finished product. After about 3 minutes of very hard work. Voila:

The Half and Half T-shirt


Pretty freakin' awesome I think :)
See you soon!

Saturday, 28 April 2012

Oversized Envelope Clutch

Hello!

It has been a while since I've posted something new up here. I was having brain-melting computer troubles but my brain has been unmelted, my computer replaced and my harddrive restored so...I'm back!

While all of that nonsense was happening was, of course, busy making cool things to share with you. So, without further ado the

Oversized Envelope Clutch Tutorial


I started out with this very cute Juniors dress (yep, that's a dress) that I found at a thrift store for about 11$. It was a size 3 so there was no way I could wear it but I couldn't pass up that gorgeous print!


I tried pinning it in billion different ways (8) and while there were all fine none of them were really . doing anything for me. I think it was the quality of the fabric. That sheen was keeping it from being the funky, casual top I had envisioned. So, I changed the plan.


As I often do, apparently, I forgot to take pictures of the first part so put get ready to use that imagination. First thing to do is decide how big you want your clutch to be. You need something to stiffen the fabric. I used cereal boxes, without thinking that that means I can't take it out in the rain (in Vancouver)...yep...

You'll need two rectangles, one a little thinner than the other and a triangle for the top flap. Then wrap your fabric around your base.

It also needs a liner so that you can't see that base evertime you open the thing.


Now sew it all together (make sure you left yourself a seam allowance).

Need a strap as well (I also added a button just at the point of the flap).


And VOILA!


Pretty cool eh?

Thanks for stopping by!

Monday, 9 April 2012

New Hooded Infiniti Scarf

Hello crafty people!

Anybody else have a great long weekend? I got nothing done! It was awesome, almost all my time was spent with my Sweet Talking hubby :)

Anyway, on to the tutorial:

This project is a re-do of a scarf that I made for myself which you can read about here. When my sister saw my scarf she decide she needed one too, but she's not really a hot pink kind of a girl so...beige it is!

My scarf was made with double crochet stitch, and the yarn was a little thicker so even such an open stitch was pretty warm. The beige yarn I used for my sister's scard (Super Saver) was really think so I found a lovely, thick stitch that had never worked with before: Moss Stitch. Moss stitch is really easy, just sc1, dc1 over and over again. It creates a great, thick textured look. Though it was so thick I made this scarf with only a double wrap (mine was triple) as I really didn't want my sister to feel like she was wearing a neck brace.

Step One:

Crochet 2 square for the hood and one long rectangle for the scarf. I'm not going to give you exact measurements as I have found that the best method is to measure it against your head as you work. When I made mine I used measurements that I found online and it came out all wrong. Measure the first chain of the hood from the back of your skull until it's as wide as you want it. Then crochet until it reaches as far forward as you would like (don't want to lose too much periferal vision. Then as you crochet measure from the top of your head down until the piece rests comfortably on your shoulder.

These are the pieces you need:


Step Two:

Using either single crochet or slip stitch (I use sc because I like the way it looks) crochet one short and long side of your hood pieces together so that you can place the hood over your head.


Step Three:

Twist the scarf. That twist gives a little extra bulk, making this and infiniti scarf (like a mobius strip).


Step Four:

Crochet it all together. Make sure that you crochet the scarf to the hood so that your seams are facing inward and are invisible when you are wearing the scarf, and don't forget to maintain that twist!


The final product:
My sister's not one for putting her face online so I have to model this number, but she was thrilled with it!