
I told you I would get a tutorial up here sometime soon and I meant it! I guess I'm over the first trimester fatige (at 4 freakin' months!). I whipped this little beauty up yesterday afternoon and now it's my favourite maternity shirt!!! Read on for the tutorial:
 |
| After |
 |
| Before |
I started out with this super cool XL men's shirt that I found for 3$. In the pic it's awesome is not obvious. But the grey lines have this funky scaly texture to them. Detail pic:
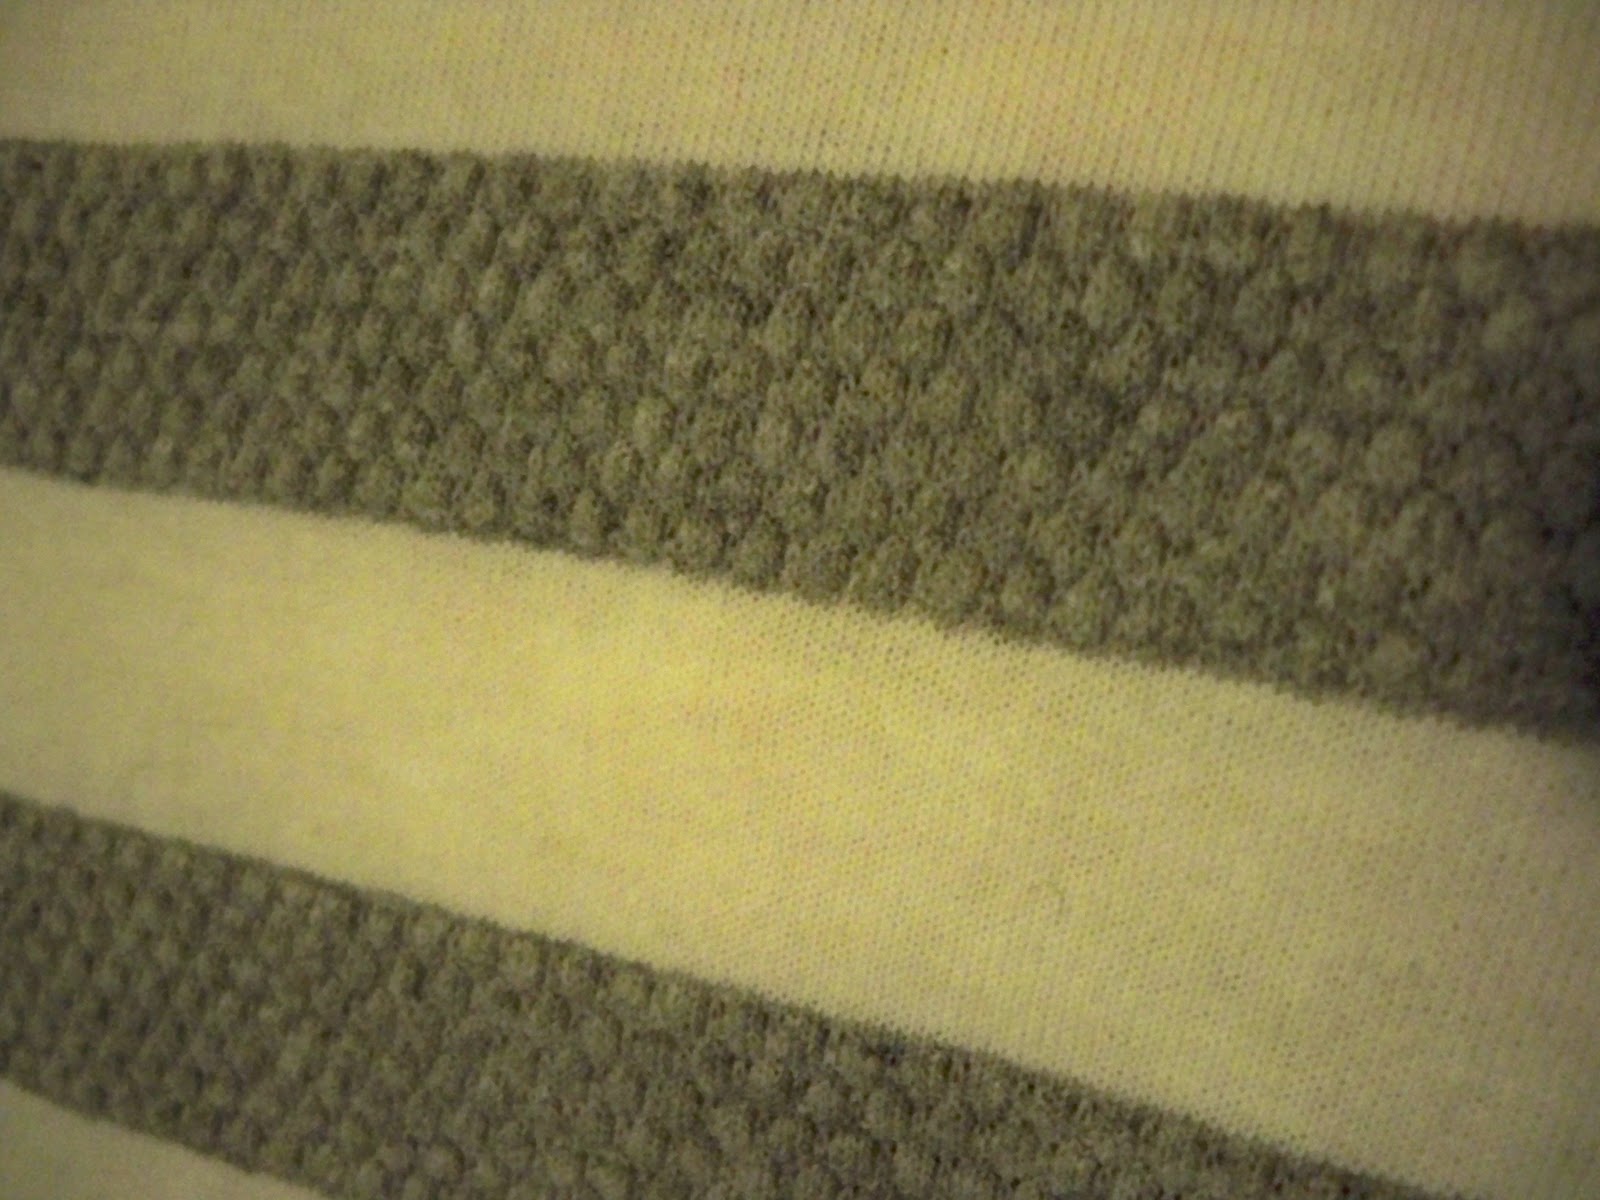 |
| Cool eh? |
First I had to cut it down to my size, leaving plenty of room for the growing belly. At first I though I would leave it at that bat it was like wearing a grey-striped sack. So, I added some cute rushing to the side by sewing some elastic from the armpit to the bottom of the t-shirt. Pull the elastic tight and you get this cute wrinkly effect.

It was still pretty shapeless so I added a little rushing below the bustline in hopes that it would draw attention to my bump. The result was underwhelming:
 |
| And it made my boobs look small. |
So, it was back to the drawing board. I spent a little time online and got my inspiration from this beautiful dress by Lizzie from one of my favourite blogs cotton&curls featured on DIY Maternity:

I loved that collar and knew it was just the thing to fix my sad little maternity top. So, first I cut the shirt down even smaller, taking the fabric from the back so there was still plenty of room to grow up front. Then I cut out the collar and found a GIANT hole I must have made while nlindly attacking the poor thing with my sewing sheers. BUT that's okay! That's what collars are for!
 |
| Big hole! |
I had to shorten the sleeves considerbaly when I did the first alteration so I used the leftover material from the sleeves to make the collar.


I also brought the rushing below my bust way down so that it wouldn't flatten my already small chest.
and VOILA

I hope you enjoyed. If you do a similar refashion I would love to see it!
-Mikelina
No comments:
Post a Comment
I love comments!