Showing posts with label how to. Show all posts

Thursday, 14 March 2013

Wildeman Wednesday #3

This post is brought to you by 

the number 3!

 
Okay, I know it says Wednesday up there ^ and it is decidedly not Wednesday. I transfer my pictures from my tablet to my computer via Asus web storage and the site was down yesterday so I couldn't get anything posted.
 
On that same note, these pictures are awful. I really need to get one of the two cameras sitting on my desk fixed. Anyone know what causes a "lens error"? Both seem to have fallen victim to this strange camera illness within weeks of each other. Perhaps it's contagious?
 
Speaking of which Wildeman has been super sick (so have dad and mom but we're much better at breathing through our mouths than he is) which has been unpleasant. And the little munchkin's teeth decided that now would be a great time to work their way into the world. Awesome.
 
So, here is an uncomfortable but still trying to be cooperative little man in
 

Baby It's Cold Outside
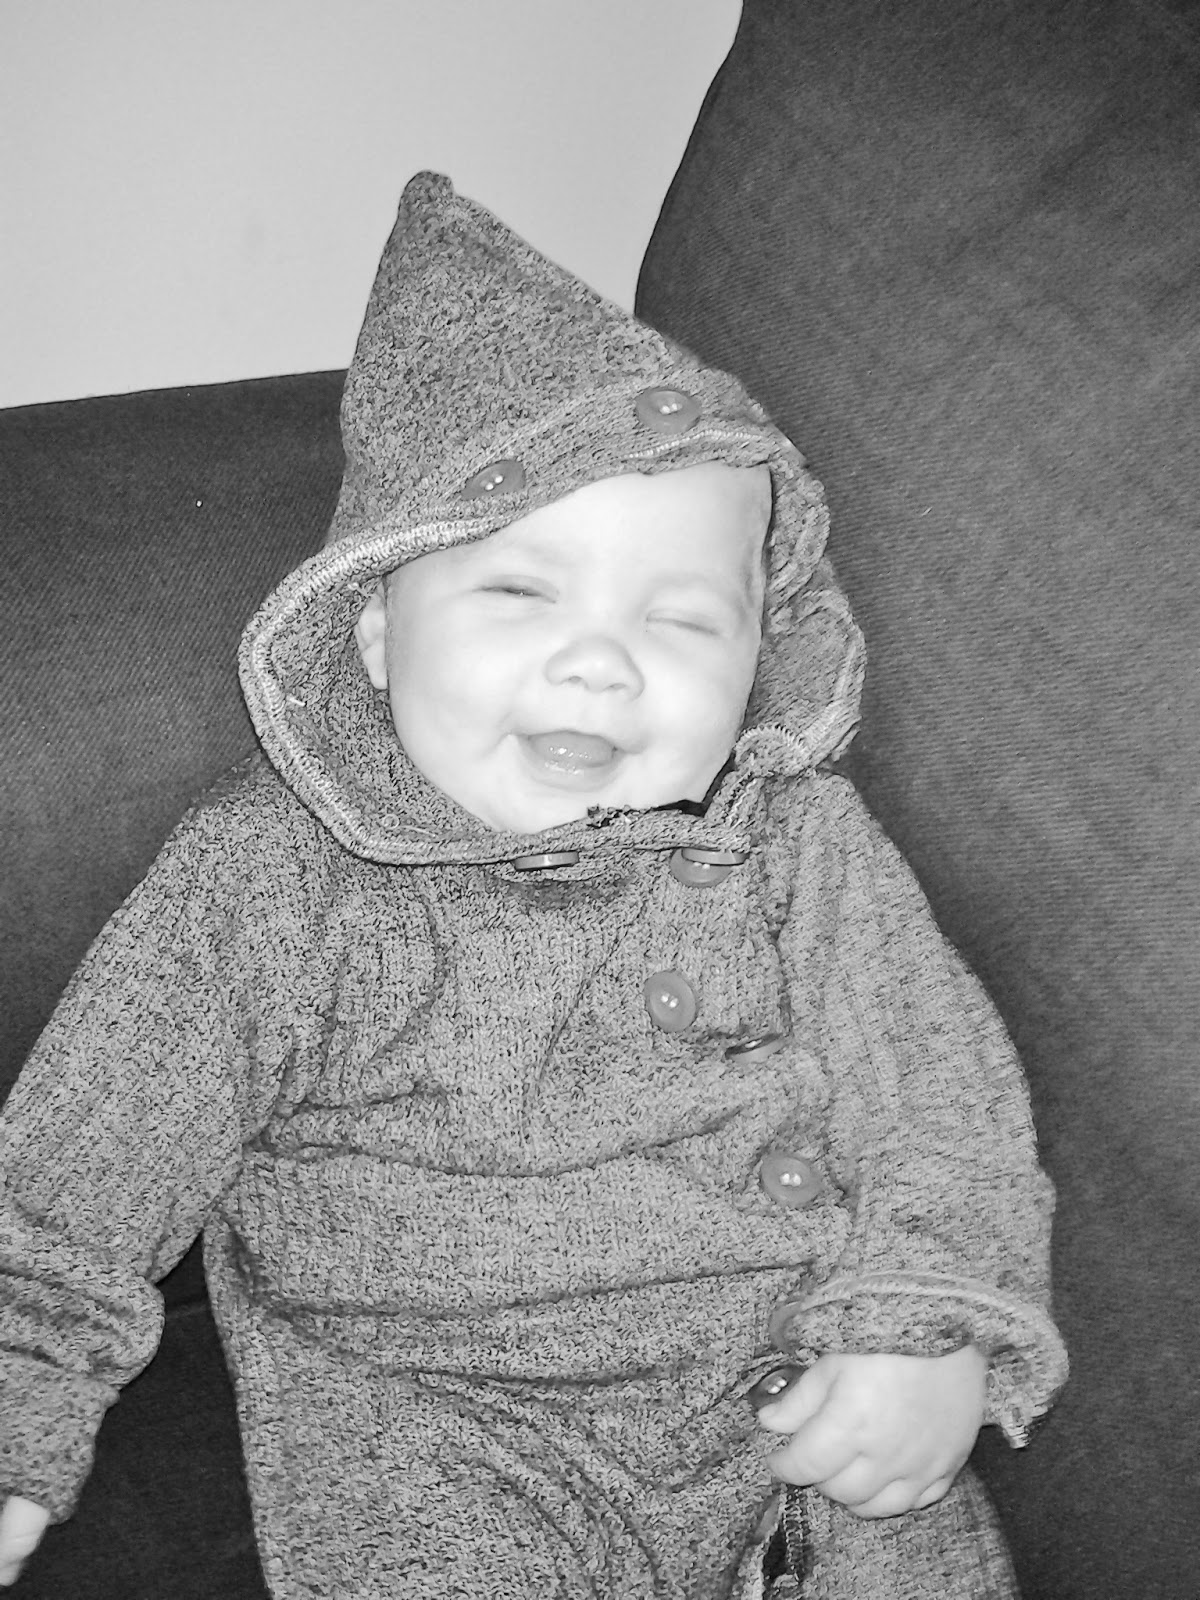

BTW this isn't an attempt to be artsy (although my kid's pretty cute in black and white). The tablet was messing with the colour and Wildeman ended up looking purple in almost every shot. The warm uh...coveralls? Sleeper? Anyway, it's grey. You can see the colour in the tutorial. Just keep on scrolling.


Pinterest Challenge #3 Cross Back Tank

Yay! I'm still on track with the Pinterest Challenge!

Confusion can be cured by clicking that link up there ^

Boring tank tops can be cured by doing this:


My Pinspiration:


Rowan Criss Cross T-shirt Crochet Project

I bought this tank at my favourite thrift store with the original intention of doing nothing to it. I get so excited about details and prints that I own very few basics. It turns out I can`t really handle basic.

Tuesday, 5 March 2013

My Other Pants are a Kilt - Part 2

Hello Tutorial Readers,
(there is a tutorial down there)

Introducing Wildeman in:

My Other Pants are a Kilt Part 2

The Button Down Onesie


This is part 2 of the tutorial for the Wildeman Holiday Challenge 2013: St. Patrick's Day as well as my Sew-vivor audition this season.This formal Irish suit is made up of 6 different pieces. A button-down onesie, vest, jacket, bow tie, kilt and sporran.

No idea what challenge I'm talking about?
No idea what Sew-vivor is?
Haven't seen Part 1?

Caught up now? Good, on we go...

Monday, 4 March 2013

Sew-viving and My Other Pants are a Kilt Part 1

Hello Crafty Crafterson's

and also people who like to read about sewing/crafting and not do it. No judgment, just didn't want to leave you out of the greeting.

Today I bring you

Wildeman Holday Challenge 2013 #2

St. Patrick's Day

and also

My Sew-vivor Audition!

 
No bird killing on my blog but if I were the bird killing type I'd be knocking them out all over the place with one well-thrown stone.
 
Let me just remind everyone of the very first rule for the Wildeman Holiday Challenge 2013:
1. Make a complete, themed, ***non-traditional outfit*** for my baby boy for every major, and some minor, holidays...
 
Ok seriously, what the crap Mikelina? A non-traditional St. patty's day outfit? If it's green it's traditional and if it's not green it's not St. Patty's Day! I had a hell of a time with this one until I remembered that it isn't only Scots who have a history of kilt-wearing. Bingo. Plus baby kilts are just so damn cute. It was impossible to resist.
 
Introducing Wildeman in:

My Other Pants are a Kilt Part 1

The Kilt and Vest


Friday, 15 February 2013

The Exhibitionist - Alien Skull Hoodie Tutorial

Hey folks :)

Over at Project Run and Play this weeks theme is "Signature Style" and I had no problem at all identifying mine. My husband describes me as someone who "talks like a textbook and dresses like they are out of a music video". Couldn't have put it better myself. I like obnoxiously bright colours, bold prints, mixed textures and unexpected pairings. I have a mohawk and bold glasses, I don't think I'll ever switch to contacts. I like every aspect of my outfit to shout with personality.

But above all my number one factor will always be comfort. I have had fibromyalgia for over 4 years now and I avoid anything starchy, stiff or elastic, I wouldn't last a half hour. Luckily, the day I found out about this week's theme I was wearing an outfit that I though perfectly represented my signature style:

For mom:
 

I made every part of this outfit too! Skull T. Flannel. Pants.
 
For Wildeman:


The Ehibitionist


Friday, 8 February 2013

Baby Trench - PR+P Men's Shirt Refashion

Hello everyone!

I'm so sorry that took so long, I didn't end up getting a new charger until this afternoon but I am finally back and with a lovely tutorial (if I do say so myself). I was having the hardest time thinking of something unique to for this week's Project Run and Play sew along. Men's shirt refashion is a pretty well-loved theme for refashioners the world over and though it is a very versatile piece it seemed that I had seen everything.

To make matters slightly more challeneing my only little model is a baby boy, adorable though he is, I'm not sure of he could rock a girlier (therefore easier) men's shirt refashion. Thankfully hubby came to the rescue with a brilliant idea: a baby trench. A classic for a reason. So, a little internet hopping and I discovered this adorable Burberry trench for 4 years old and upward for 350$:


Yes, that's right: 350$ for a children's coat. Seems a little unnecesary to me. Especially when this little peice of adorableness cost

2.50$
 
 
Want to see that again?


Thursday, 7 February 2013

Wildeman Holiday Challenge ***Valentine`s Day Jeans***

Hello Crafty Crafters!

Welcome to the first edition of the Wildeman Refashion Challenge 2013

This is part two of my baby Valentines tutorial, check out Part 1 if you haven`t already. Let`s get this party started!

The Jack of Hearts

Wednesday, 23 January 2013

Mixologist - Boys' Week

Let's get down to business -

I just discovered Project Run and Play this week and I can't believe the level of awesome I have been missing out on. I immediately jumped on the chance to feed to birds with one seed (I'm not into killing birds, regardless of how many stones are employed in the process). Hubby, Wildeman and I were recently invited to Uncle Jukeboxs 20`s themed birthday party and everyone must be in costume. Everyone. So, without further ado I bring you Wildeman as...

The Mixologist

Monday, 21 January 2013

Peace! - and other clever blog post titles...

Hello everyone!

How about another maternity refashion? I'm not pregnant anymore but I still have a few refashions that have gone woefully unshared for far too long. This refashion ended up being my favourite top while I was pregnant and every time I wore it I got a complement, so awesome near the end when I was all waddly and bloated!

To start out you'll want to find yourself an L - XL T, mine had a cool graphic (because, you know, it's me) but a patterned something would work well for this too. This is a great way to fill up your maternity wardrobe without spending 30$ for a t-shirt.

Would have been awesome for twins!

Wednesday, 16 January 2013

Women's Button Down to Baby's Button Down

Hello everyone,

It's time for some baby refashions! I have made a ton of clothes for Wildeman and I intend to share them all for you. There really aren't enough cool, commercially available baby clothes in the world. My kid is already cute, covering him in bunnies and teddy bears seems like overkill. It's a damn good thing I can sew or he would be naked all the time!

On with the tutorial:


Sunday, 13 January 2013

Reshaping Men's T to Women's

Hello Crafty Folks,

I have a really simple t-shirt reshaping for you today. This is a good tutorial for beginning refashioners who are feeling nervous about taking scissors to their clothes. I started out with a large men's t-shirt with a great graphic design (I have a thing for graphic Ts...and skulls...and colours...I LOVE THIS SHIRT).

Friday, 11 January 2013

Simple Refashion: XL Men's T-shirt to Cinched Tunic

Man it feels good to be doing this again!

I loved this idea I found on Pinterest a while ago but hadn't come across the right shirt until my last thrift store visit. The Value Village near my house is a goldmine of large men's graphic T's, and I fortuitously have an obsession with graphic T's. When I found this one I knew I had to have it and immediately knew what to do with it.


I love a cheeky graphic.

Wednesday, 9 January 2013

Men's XL Flannel to Women's Fitted Shirt

Hello Crafty Foxes and Foxy Crafters,

I'm finally posting my first tutorial since my little Wildeman was born! This refashion posed a special challenge for me as I am refashioning for my post-pregnancy body, and it's very unlike the body I am used to sewing for. Not only is it bigger in size (40 of 65 lbs to go!), my breasts have gone rogue. I was a generous A before I got knocked up, then I swelled all the way up to an E and am still getting the hang of these Ds I've been left with. TMI? Well, I think it's a valuable piece of information for other refashioners who have experienced weight/body changes for any number of reasons. So this was very much trial and error as fitting a shirt to my bust line before meant very little.

Anyway,

On with the tutorial>>> 

Men's XL Flannel to Women's Fitted Shirt


Friday, 17 August 2012

Cloth Necklace

Hello crafty people
{crafty like a fox}

No refashioning today. Just an oldschool DIY. I made this cloth necklace with some fabric I bought at a thrift store (took me forever to figure out what to do with it but I loved it so much!) but this DIY in particular is usually done with an old t-shirt. Probably works best with jersey, I did it with a shiny, non-stretchy fabric. No freakin' idea what it might be made of (I'm not quite that good).

This is a simple project. I just whipped it up in about 45 minutes. You just cut the fabric into strips to make your braid (I doubled them for a bulkier braid), sew off the ends and attatch a whole bunch of strips for the rest of the necklace. Super easy and super cute! Perfect for summer. Enjoy! (+ my amateur artsy photos :P )


See you soon!

Monday, 13 August 2012

Nerdy Crochet!

Hey everyone!

I know it's been for-frakin'-ever since I've posted and I apologize. I've been busy being pregnant and allowed that to get in the way of my blogging (FOR SHAME) but certainly have not allowed it to get in the way of my crafting (WOOT!)

This is by far one of my favourite things I've ever hooked:


Who says crocheting can't be awesome?


The how-to is easy enough but I didn't have a pattern (naturally). I made my own and it`s acutally super easy to make your own crochet-by-numbers style pattern.

Step One:

Draw the outline (to scale) of your project on graphing paper.

Step Two:

Make your pattern by colouring in squares. You can use as many colours or as complicated a pattern as you want it just means you`ll be switching yarns more often.

Note:

For this project each square on graphing paper is acutally represented by 6 stitches done over two rows. On the bottom you have sc-dc-sc and on the top you have dc-sc-dc. It`s a technique I borrowed from groundhogpeggy on Youtube. She has a whole technique for crocheting images that look right from both sides. I`m not a fan of the overall technique as the contrasting yarns show through but the way she creates patterns on graph paper is really simple and easy to do.

Stay crafty!
M <3

Wednesday, 27 June 2012

Lace Shorts!

New tutorial for today!

I know that lace shorts have been a thing for a while now but I didn't know about them until I saw a woman wearing them at the doctors office and I was in love! But is there any chance that a maternity option is available for these beauties? Not a shot in hell. But that's okay because I have a sewing machine and a giant box of lace my aunt wanted to get rid of. Score!

You can use this tutorial to make non-maternity shorts really easily as when I make maternity bottoms I just keep the waist below the belly so that I can still wear my creations after the baby is born.

The Shorts

Sunday, 24 June 2012

Rocket Skirt/Top

Happy almost the end of June!

How is everyone liking my new blog?

I have another maternity tutorial for you today! At the thrift store a while back I found a wicked extra-large, extra-tall men's t-shirt that was covered in rocket ships. My non-pregnant self could have worn the thing as a dress it was so huge but prego me fills out the front a little to much. So, I made a new thing! It's a shirt/skirt for pregnant a ladies!

The finished product:

The tutorial:

Originally I wanted to make a dress using the rocket fabric a the skirt and and old black t-shirt as the top. These were my starting materials, I think the shirt was around 7$:

Sunday, 10 June 2012

Slippers!

Not too long ago I got these weird red bumps on my toes. They kinda freaked me out so I went to see a dermatologist about them. Apparently my toes are very sensitive to cold. A few pairs of warm socks and I would be all fixed up. Well, thanks doc, and that was all well and good until I attempted to wear those fleecy mountain man socks for more than an hour. And you know what? OW! So I asked the dermatologist about it but he turned out to be one of those asshats who don't believe FMS is a thing. I calmly informed him that it can be viewed on catscans and walked out.

Crocheting time!


These things are shockingly easy to make. I didn't follow a pattern so this tutorial will work for any yarn weight or hook size. Enjoy!

Ch enough to be as wide as three toes.
Crochet in the round (and stitch, I did dc), inc as you need to fit over your toes.
Measure against your foot as you go so they fit you perfectly.
Once you've reached the wide spot at the base of your toes stop increasing and crochet in roud as high as you want to go.
Then start crochet in rows so that you are creating the sole of the slipper and moving back toward the heel.
When you reach the heel decrease 3-5 with each stitch so that you create little half circle.
Tie off the heel and create two chains long enough to tie around your ankle. Single crochet them to the top of the heel in the cenre.

And VOILA! Slippers!

Thursday, 7 June 2012

Men's XL to Women's Maternity

Hello!

I told you I would get a tutorial up here sometime soon and I meant it! I guess I'm over the first trimester fatige (at 4 freakin' months!). I whipped this little beauty up yesterday afternoon and now it's my favourite maternity shirt!!! Read on for the tutorial:

After

Before

Monday, 7 May 2012

Wrap around earrings

Hey,

This is a super simple project and unfortunatley I forgot to take pictures (again) so you're going to have to image the majority of the tutorial but I'm sure you'll have no problem.

Here's the finished Wrap Around Earrings


Materials:
Hoop earrings
Yarn
Crochet hook
Hair spray

Step One
Crochet all round the outside of your hoop (actually took this picture).


Step Two
Wrap. Wrap horizontally until the yarn is as dense as you want it then wrap vertically. When you wrap vertically make sure you pull the yarn through the top of the hoop so you get that dip look (and a spot for you ear lobe to go). Then tie the yarn off and weave it in.


Step Three
Spray. The yarn's not super stable yet. I just hair-sprayed the earrings, pressed a tissue over them to get rid of the bubbles and let them dry. They're pretty firm now!

Have fun!