Showing posts with label fabric. Show all posts

Thursday, 14 March 2013

Wildeman Wednesday #3

This post is brought to you by 

the number 3!

 
Okay, I know it says Wednesday up there ^ and it is decidedly not Wednesday. I transfer my pictures from my tablet to my computer via Asus web storage and the site was down yesterday so I couldn't get anything posted.
 
On that same note, these pictures are awful. I really need to get one of the two cameras sitting on my desk fixed. Anyone know what causes a "lens error"? Both seem to have fallen victim to this strange camera illness within weeks of each other. Perhaps it's contagious?
 
Speaking of which Wildeman has been super sick (so have dad and mom but we're much better at breathing through our mouths than he is) which has been unpleasant. And the little munchkin's teeth decided that now would be a great time to work their way into the world. Awesome.
 
So, here is an uncomfortable but still trying to be cooperative little man in
 

Baby It's Cold Outside
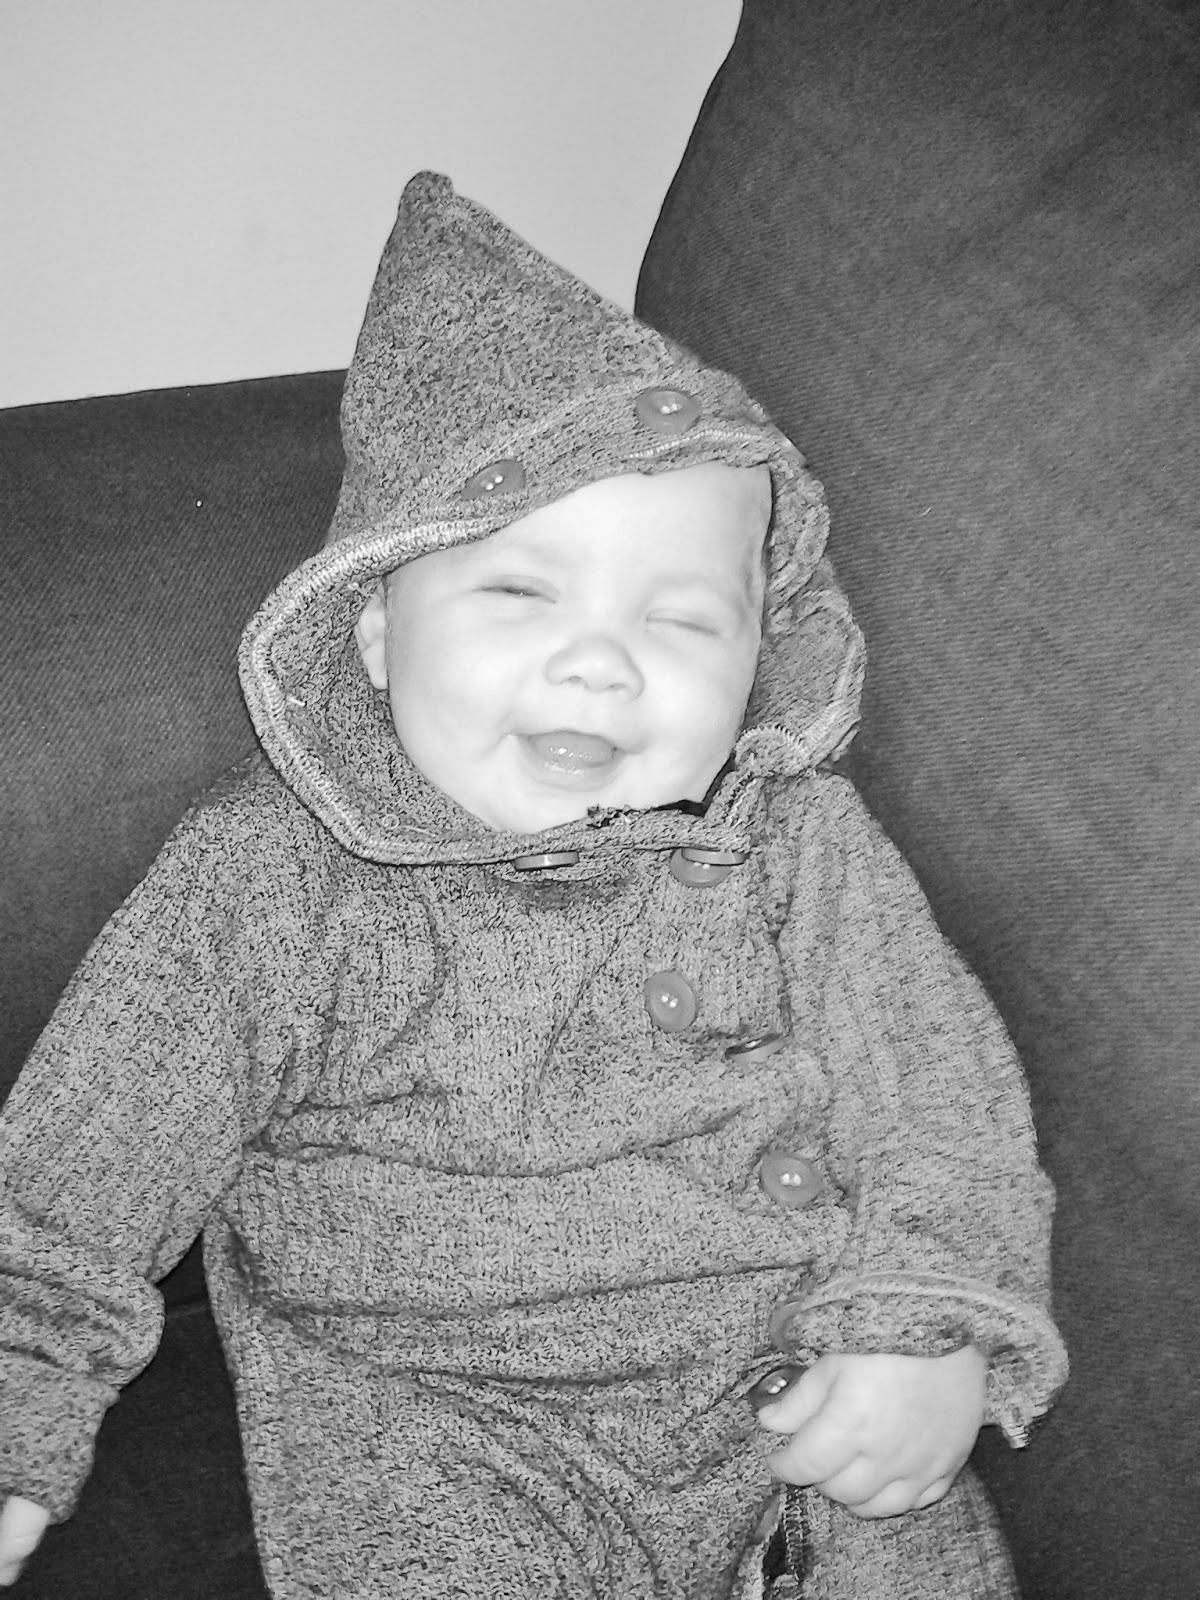

BTW this isn't an attempt to be artsy (although my kid's pretty cute in black and white). The tablet was messing with the colour and Wildeman ended up looking purple in almost every shot. The warm uh...coveralls? Sleeper? Anyway, it's grey. You can see the colour in the tutorial. Just keep on scrolling.


Friday, 15 February 2013

The Exhibitionist - Alien Skull Hoodie Tutorial

Hey folks :)

Over at Project Run and Play this weeks theme is "Signature Style" and I had no problem at all identifying mine. My husband describes me as someone who "talks like a textbook and dresses like they are out of a music video". Couldn't have put it better myself. I like obnoxiously bright colours, bold prints, mixed textures and unexpected pairings. I have a mohawk and bold glasses, I don't think I'll ever switch to contacts. I like every aspect of my outfit to shout with personality.

But above all my number one factor will always be comfort. I have had fibromyalgia for over 4 years now and I avoid anything starchy, stiff or elastic, I wouldn't last a half hour. Luckily, the day I found out about this week's theme I was wearing an outfit that I though perfectly represented my signature style:

For mom:
 

I made every part of this outfit too! Skull T. Flannel. Pants.
 
For Wildeman:


The Ehibitionist


Wednesday, 30 January 2013

Blue Plaid Flannel to Sexy Pleated Micro Mini Skirt

Hello everyone !

Ever notice the ridiculous lack of lingerie refashion tutorials? No? Well, I have and I think it's a travesty that requires a quick remedy. Hopefully this will be the first of many lingerie refashions, because lingerie makes you feel beautiful and sexy and the world needs more women who feel beautiful and sexy.

I started out with this:


It's kinda big...


Wednesday, 23 January 2013

Mixologist - Boys' Week

Let's get down to business -

I just discovered Project Run and Play this week and I can't believe the level of awesome I have been missing out on. I immediately jumped on the chance to feed to birds with one seed (I'm not into killing birds, regardless of how many stones are employed in the process). Hubby, Wildeman and I were recently invited to Uncle Jukeboxs 20`s themed birthday party and everyone must be in costume. Everyone. So, without further ado I bring you Wildeman as...

The Mixologist

Friday, 17 August 2012

Cloth Necklace

Hello crafty people
{crafty like a fox}

No refashioning today. Just an oldschool DIY. I made this cloth necklace with some fabric I bought at a thrift store (took me forever to figure out what to do with it but I loved it so much!) but this DIY in particular is usually done with an old t-shirt. Probably works best with jersey, I did it with a shiny, non-stretchy fabric. No freakin' idea what it might be made of (I'm not quite that good).

This is a simple project. I just whipped it up in about 45 minutes. You just cut the fabric into strips to make your braid (I doubled them for a bulkier braid), sew off the ends and attatch a whole bunch of strips for the rest of the necklace. Super easy and super cute! Perfect for summer. Enjoy! (+ my amateur artsy photos :P )


See you soon!

Wednesday, 27 June 2012

Lace Shorts!

New tutorial for today!

I know that lace shorts have been a thing for a while now but I didn't know about them until I saw a woman wearing them at the doctors office and I was in love! But is there any chance that a maternity option is available for these beauties? Not a shot in hell. But that's okay because I have a sewing machine and a giant box of lace my aunt wanted to get rid of. Score!

You can use this tutorial to make non-maternity shorts really easily as when I make maternity bottoms I just keep the waist below the belly so that I can still wear my creations after the baby is born.

The Shorts

Sunday, 6 May 2012

Origami Heart Necklace

Hey everyone,

It origami time!

I have always been fascinated by paper folding but had little to do with a bunch of folded paper. Add to that my near-convulsive reaction to wasting things and I, unsurprisingly, never really got into folding paper for fun. Fortunately, I am into fabric and it turns out the two go together beautifully.

Without further ado The Origami Heart Necklace
ps, that's a baby not a beer belly :D


Step One:
You'll need three squares of paper (about an 1.5") for the small hearts and one big one for the big heart. I used paper but it does mean the necklace can't get wet. There are other fabric stiffening materials that are probably ideal. I didn't think about that till later as I'm a bit of a spaz.


Step Two:
Choose your fabric, cut a square with a little bit of a seam allowance (just enough for the stitching) and pin.


Step Three:
Sew the fabric square to the paper square. I chose cotton from an old tshirt as it won't fray too badly (this fabric is actually left over from my Dinosaur T-shirt refashion).

Front


And back.

Step Four:
Fold those suckers into four origami hearts.
Here's a great tutorial.

Step Five:
Sew your first heart to your choice of necklace. I used a braided thin, white yarn. Metal would look great but it irritates my skin.


 Step Six:
Get everyone else one there and...

Voila!

Origami Heart Necklace


Saturday, 28 April 2012

Oversized Envelope Clutch

Hello!

It has been a while since I've posted something new up here. I was having brain-melting computer troubles but my brain has been unmelted, my computer replaced and my harddrive restored so...I'm back!

While all of that nonsense was happening was, of course, busy making cool things to share with you. So, without further ado the

Oversized Envelope Clutch Tutorial


I started out with this very cute Juniors dress (yep, that's a dress) that I found at a thrift store for about 11$. It was a size 3 so there was no way I could wear it but I couldn't pass up that gorgeous print!


I tried pinning it in billion different ways (8) and while there were all fine none of them were really . doing anything for me. I think it was the quality of the fabric. That sheen was keeping it from being the funky, casual top I had envisioned. So, I changed the plan.


As I often do, apparently, I forgot to take pictures of the first part so put get ready to use that imagination. First thing to do is decide how big you want your clutch to be. You need something to stiffen the fabric. I used cereal boxes, without thinking that that means I can't take it out in the rain (in Vancouver)...yep...

You'll need two rectangles, one a little thinner than the other and a triangle for the top flap. Then wrap your fabric around your base.

It also needs a liner so that you can't see that base evertime you open the thing.


Now sew it all together (make sure you left yourself a seam allowance).

Need a strap as well (I also added a button just at the point of the flap).


And VOILA!


Pretty cool eh?

Thanks for stopping by!

Wednesday, 4 April 2012

Hell yes! Silver Pants!

I'm kind of excited about my super cool, super comfy, perfectly fitting new silver pants. I've been wanting crazy pants for a while not but have been having a hard time finding ones that won't hurt (FMS) and will fit my body right (curvy + petite = trouble). So, no problem. I just made them! I found this stretchy silverness at Fabricana in Richmond for about 20$ for two yards. The pattern I used was the Kwik Sew Misses 3807. I'll be honest though, I was not happy with the pattern. The waist was too high, the sizing WAY too big and generally weird. It took a bunch of alterations to get them to fit right, I acutally almost gave up. But, it all came together in the end.

Silver Stretchy Pants:

Materials:
"Metallica" Pewter fabric 1.5 yards (for med-small)
Kwik Sew 3807

Step One:
Cut out your pattern. (Use regular scissors for this part)


Step Two:
That thing's been folded up for a while so you'll want to iron it flat so that the shape is perfect.


Step Three:
Fold your fabric in half, right sides in and pin the pattern piece over top. Make sure the fabric is flat and smooth so that the shape isn't warped.


Be warned! Don't ignore pin or needle self pokings. They can lead to inadvertant bleeding and fabric-ruining!


Step Four:
Use FABRIC SHEARS to cut out the fabric. For this pattern the seam allowance is included so cut flush to the paper.

Step Five...

Okay, there are no more pictures. At this point I kinda lost it with this pattern. I followed the pinning directions (which were a little weird) and included turning the pants inside out again and sewing them inside each other. At one point I sewed the ridiculousy high waist shut and had to seam rip it out. Then out of mere curiosity I tried the pants on.

Holy Crap! They were awful. Too big and tent looking (even though my measurements had matched perfectly) Erkel-high and generally terrible. I threw them in a box and gave up for about ten minutes, at which point I was reminded how much I loved that fabric by all the scraps laying around. So, I decided to save the day!

I took the waist down, added a drawstring (I don't love elastic) and took the seams in about an inch and a half. I also doubled, and in some places tripled the seams, just in case. I shortened them for my 25 in inseam (yep) and finally, without daring to hope, tried them on again. And...

Step Six: Flaunting the awesome


Holy Crap!!!
I'm pretty sure I own the coolest pants in the world.

Saturday, 24 March 2012

Amazing weekend craftiness scores!!!
Friday I went down to Farbicana with my lovely sister + SIL. We all found some excitingness but I'm particularly excited about these amazing fabrics that (as soon as my Kwik Sew pattern arrives) are going to become the COOLEST. PANTS. EVER.
Metallica:
Okay, I didn't come up with that name. This series of fabrics is actually called Metallica. This one in particular is called Pewter. I was really eyeing the really bright chrome silvers that looked like liquid metal. It would have been like having the second generation terminator on pants form. Sadly, I didn't quite have the balls to go all out spangly silver. This Pewter is a little more subdued (really, it is). It's my gateway silver.
Black on black:
And my subtle pants. From far away they just look like blck but I loved the subtle circly print (makes me think of Cptn. Jack Sparrow's tattoos). These are way more subtle than I was planning to go.