Showing posts with label jewelry. Show all posts

Friday, 7 September 2012

DIY Jewelry Display

Hello to you other crafty foxes,

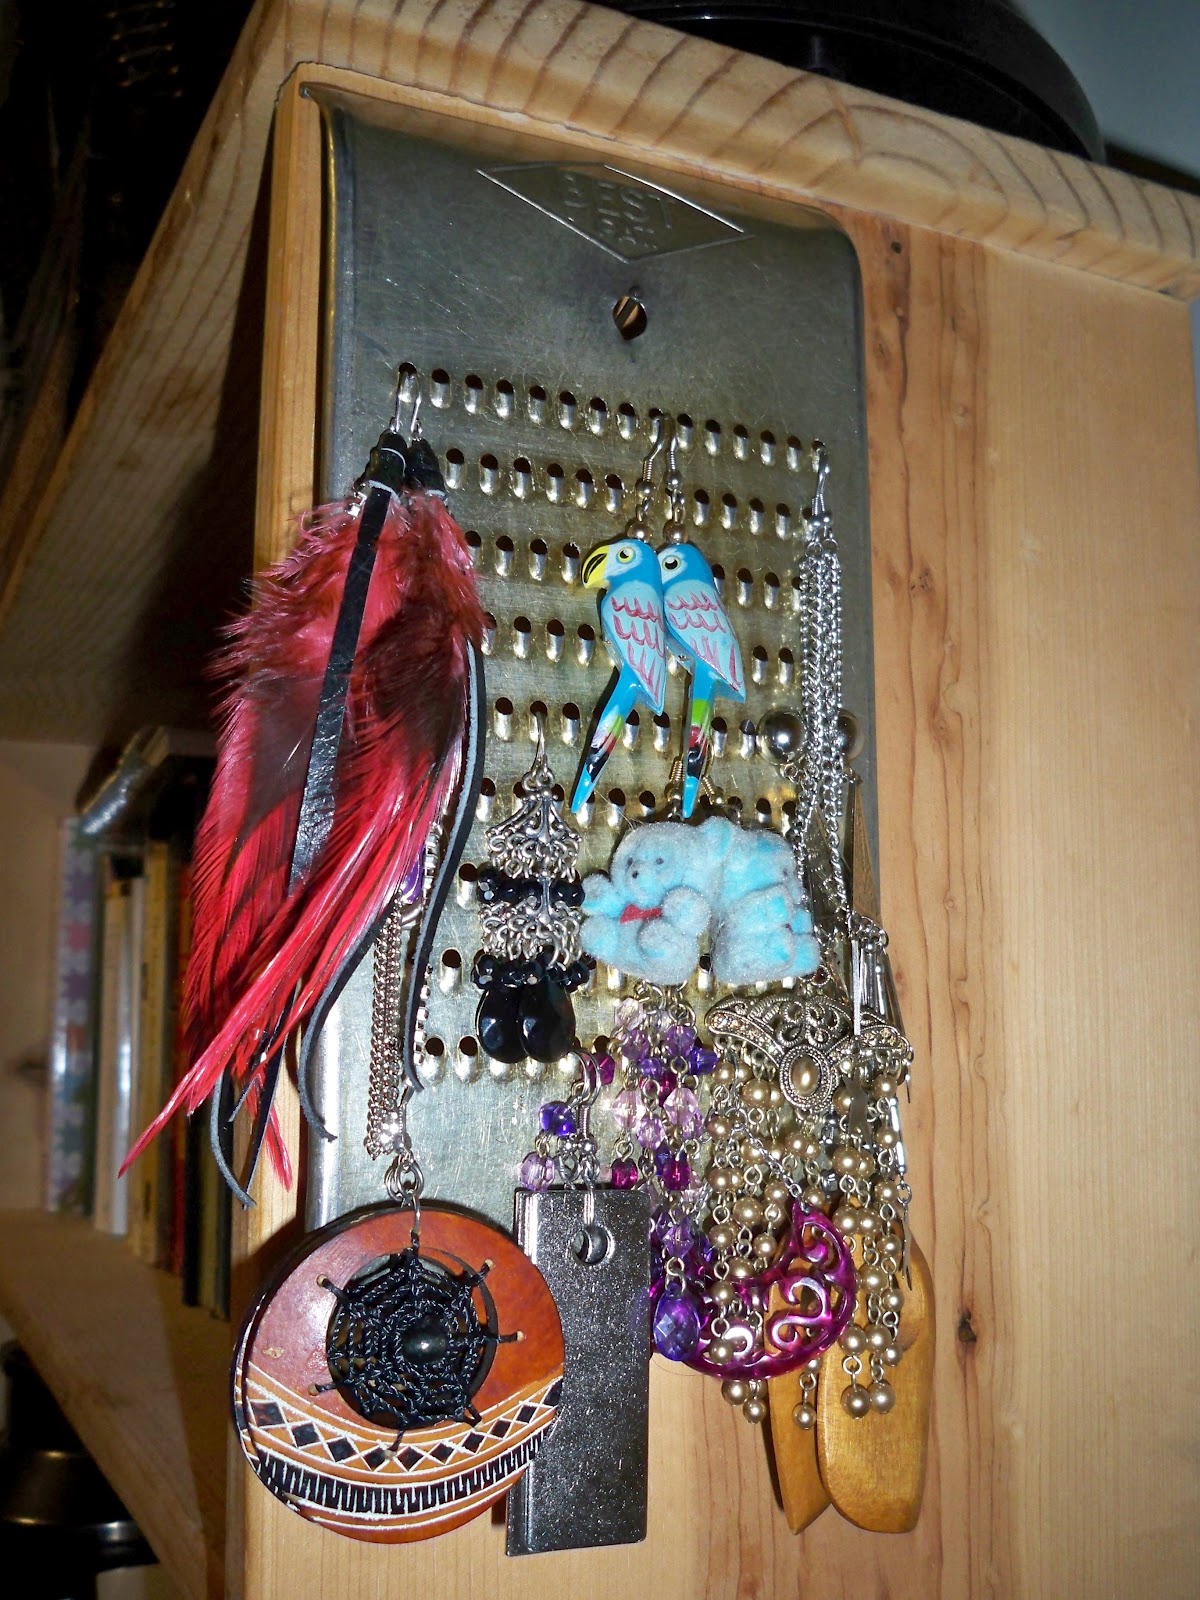
Not long ago I posted this article on my antique-cheese grater turned earring display. It was all well and good EXCEPT that my other lovely jewelry went undisplayed, unorganized, neglected and generally sad. I love my jewelry far too much to leave it in such a state! Luckily, though my husband's craftiness hides somewhere beneath his concious mind his eye in a thrift store is epic and he found a beauitful old wooden shoe shiner box, which, turned sideways and screwed to my wall, proved absolutely perfect.

Earrings on their own
(all sad)


Jewelry all together
(yay!)


Sunday, 3 June 2012

Organizing my Earrings

Hey everyone!

So, I have a lot of earrings and not a lot of space. For a while now I have been keeping my eyes open at thrift stores for some brilliant earring holding re-purpose. And yesterday I found myself a wicked old cheese grater! Does have one downside though: it only really hold the earrings that have hooks. Need to figure something else out for the studs. Here it is, quite a beauty...

Monday, 7 May 2012

Wrap around earrings

Hey,

This is a super simple project and unfortunatley I forgot to take pictures (again) so you're going to have to image the majority of the tutorial but I'm sure you'll have no problem.

Here's the finished Wrap Around Earrings


Materials:
Hoop earrings
Yarn
Crochet hook
Hair spray

Step One
Crochet all round the outside of your hoop (actually took this picture).


Step Two
Wrap. Wrap horizontally until the yarn is as dense as you want it then wrap vertically. When you wrap vertically make sure you pull the yarn through the top of the hoop so you get that dip look (and a spot for you ear lobe to go). Then tie the yarn off and weave it in.


Step Three
Spray. The yarn's not super stable yet. I just hair-sprayed the earrings, pressed a tissue over them to get rid of the bubbles and let them dry. They're pretty firm now!

Have fun!


Sunday, 6 May 2012

Origami Heart Necklace

Hey everyone,

It origami time!

I have always been fascinated by paper folding but had little to do with a bunch of folded paper. Add to that my near-convulsive reaction to wasting things and I, unsurprisingly, never really got into folding paper for fun. Fortunately, I am into fabric and it turns out the two go together beautifully.

Without further ado The Origami Heart Necklace
ps, that's a baby not a beer belly :D


Step One:
You'll need three squares of paper (about an 1.5") for the small hearts and one big one for the big heart. I used paper but it does mean the necklace can't get wet. There are other fabric stiffening materials that are probably ideal. I didn't think about that till later as I'm a bit of a spaz.


Step Two:
Choose your fabric, cut a square with a little bit of a seam allowance (just enough for the stitching) and pin.


Step Three:
Sew the fabric square to the paper square. I chose cotton from an old tshirt as it won't fray too badly (this fabric is actually left over from my Dinosaur T-shirt refashion).

Front


And back.

Step Four:
Fold those suckers into four origami hearts.
Here's a great tutorial.

Step Five:
Sew your first heart to your choice of necklace. I used a braided thin, white yarn. Metal would look great but it irritates my skin.


 Step Six:
Get everyone else one there and...

Voila!

Origami Heart Necklace


Tuesday, 3 April 2012

Pop can tab necklace

Hello!

I made some silver pants the other day (which I'll post a tutorial for soon) and then realized that I didn't have a lot of silver jewelry to go with it as I rarely wear metal (too heavy). Fortunately that is a problem easily solved with a little craftiness.

Pop Can Tab Necklace

Materials:
Cardboard or card
brown fabric
10 pop can tabs
Needle
Thread
Black ribbon

Step One:
Cut out your triangle of cardboard (I used an old cereal box) and wrap it in brown fabric.


Step Two:
I used electrical tape to tape the fabric down. Fast and easy!


Step Three:
Sew the pop can tabs into place. I started at the bottom and worked my way up. A word of caution: I cut my triangle too big for the tabs and ended up having to make it smaller on one side. But don't cut the fabric! The beauty of electrical tape is that you can just peel the fabric back, clip the cardboard and retape.


Step Four:
Tape black ribbon to the back at your desired length and you're done. The whole thing takes about 20-60 minutes, depending on how fast you work.

The finished product:


Make. Make. Make.